I hope my three-year hiatus from blogging didn’t leave you in the lurch. Can I call it a hiatus if I can count the times I blogged prior to my break on one hand? I guess the nice thing about it being MY blog is I can do whatever I want. To put it simply, I was out of the proverbial office (ootpo).
Since we last talked (or at least since I last talked at you), a lot has changed. And a lot has stayed the same! I’m (still) not a girl, not yet (although maybe closer to being) a woman. I am by no means a professional chef or professional cool girl in any way, but I am not afraid of trying, and as a wise man (rat) once said, “Anyone can cook, but only the fearless can be great!”
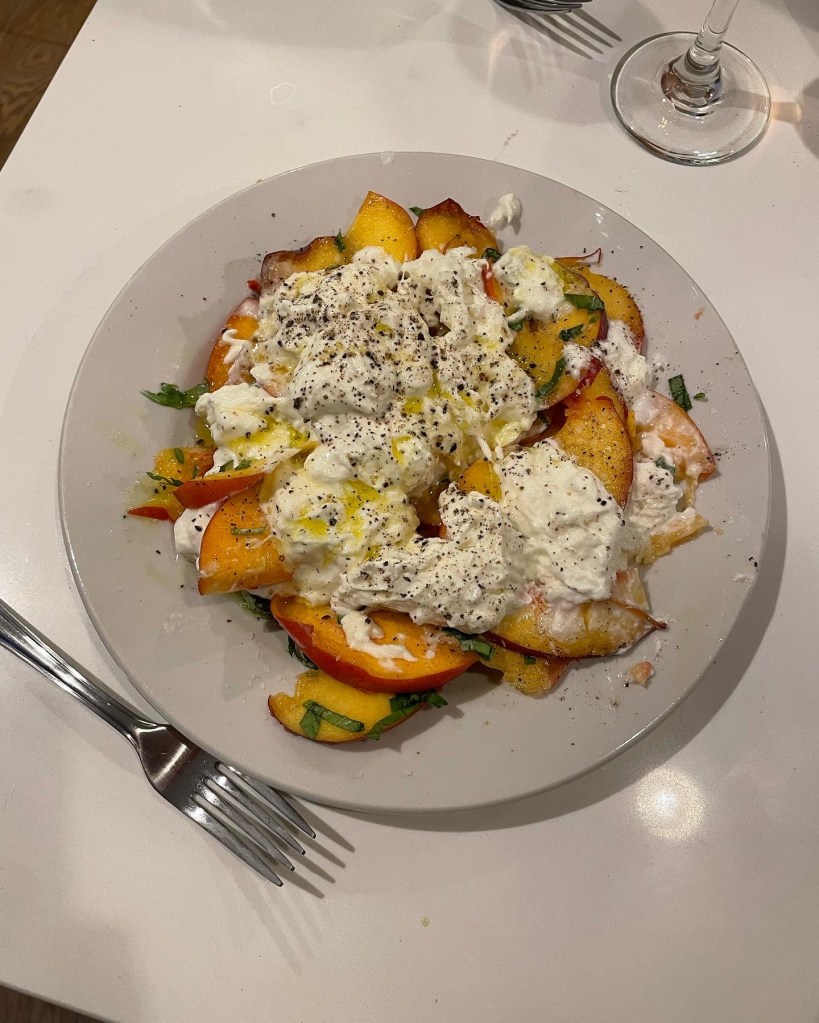
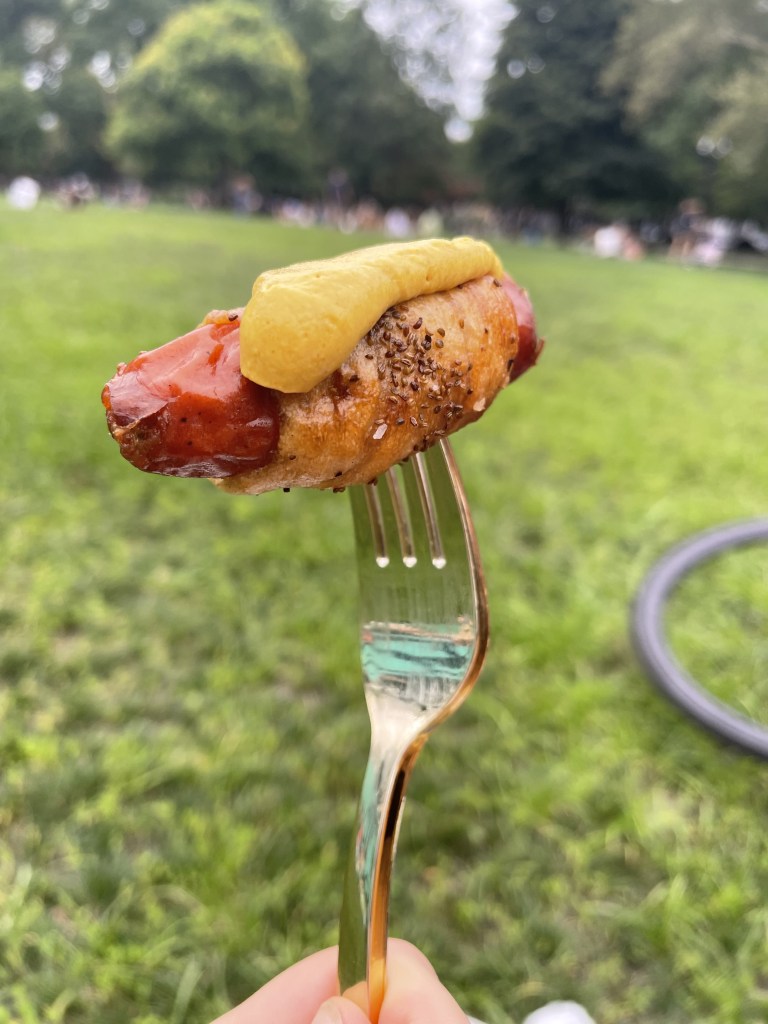
The culinary highlights of my past three years include braising a whole octopus, attempting (and failing) at making a Timballo, being told by strangers on Tiktok that I cut onions wrong, many impromptu fresh pasta nights, accepting canned tuna, miso pigs in a blanket, pairing fresh peaches with goopy stinky cheese, and learning to love (kewpie) mayo.
I also now have a cat named Polenta.
All of this is to say that I am back and better than ever. We’ll chat soon–until then, here are some snacks to hold you over.
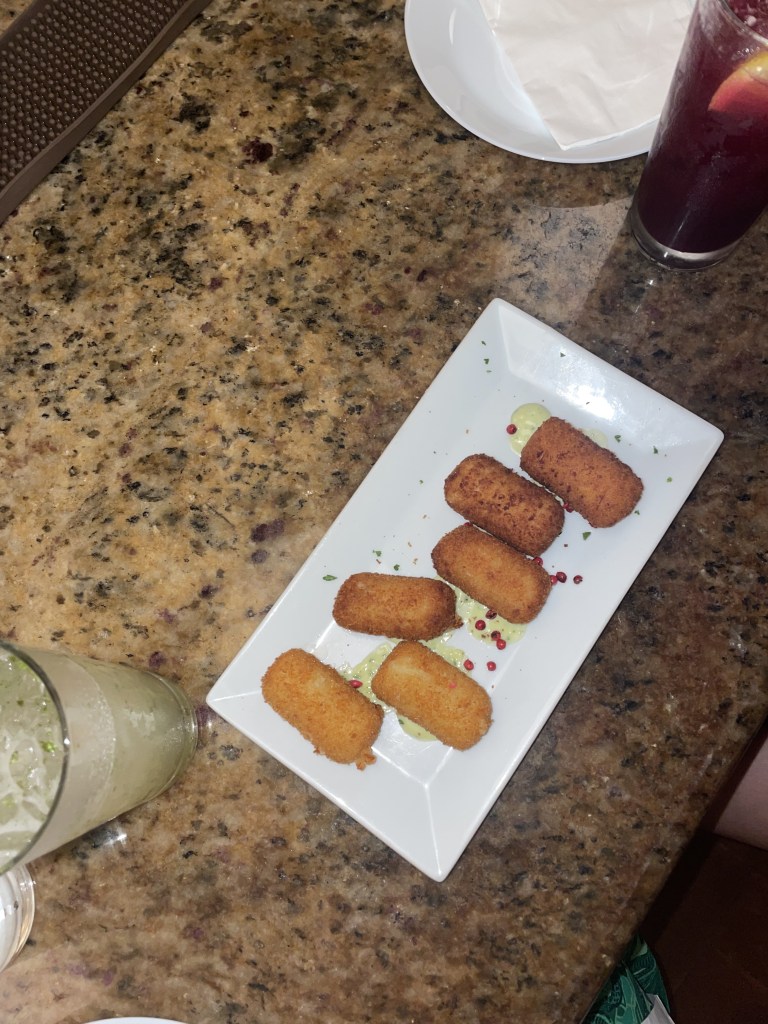
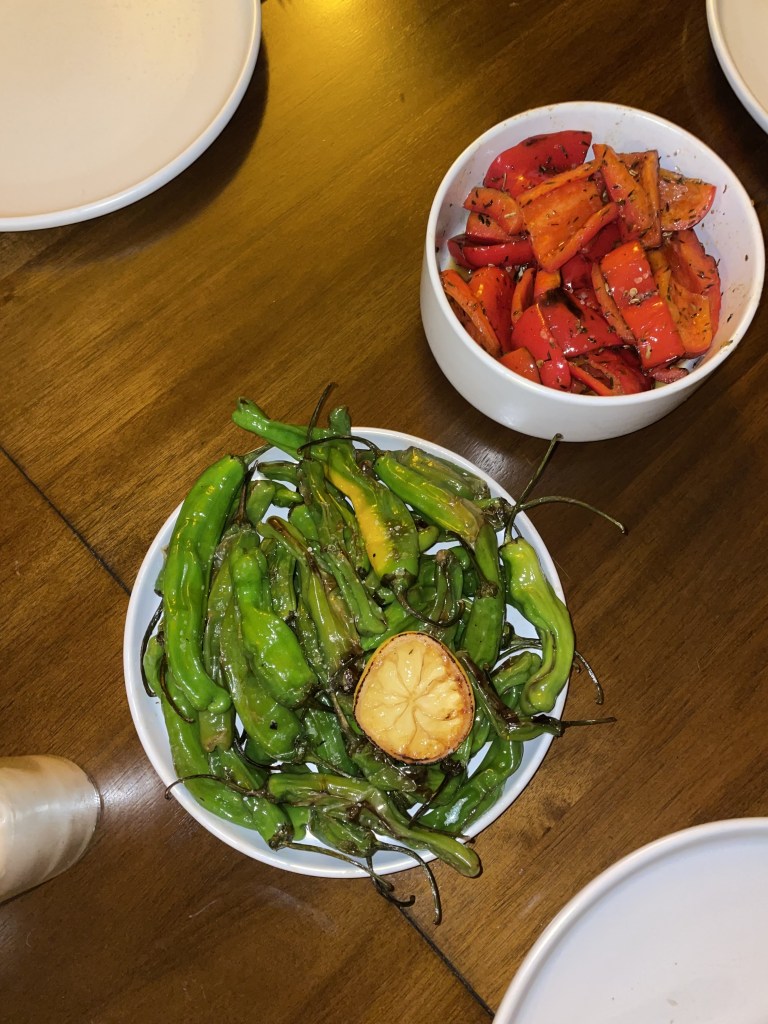
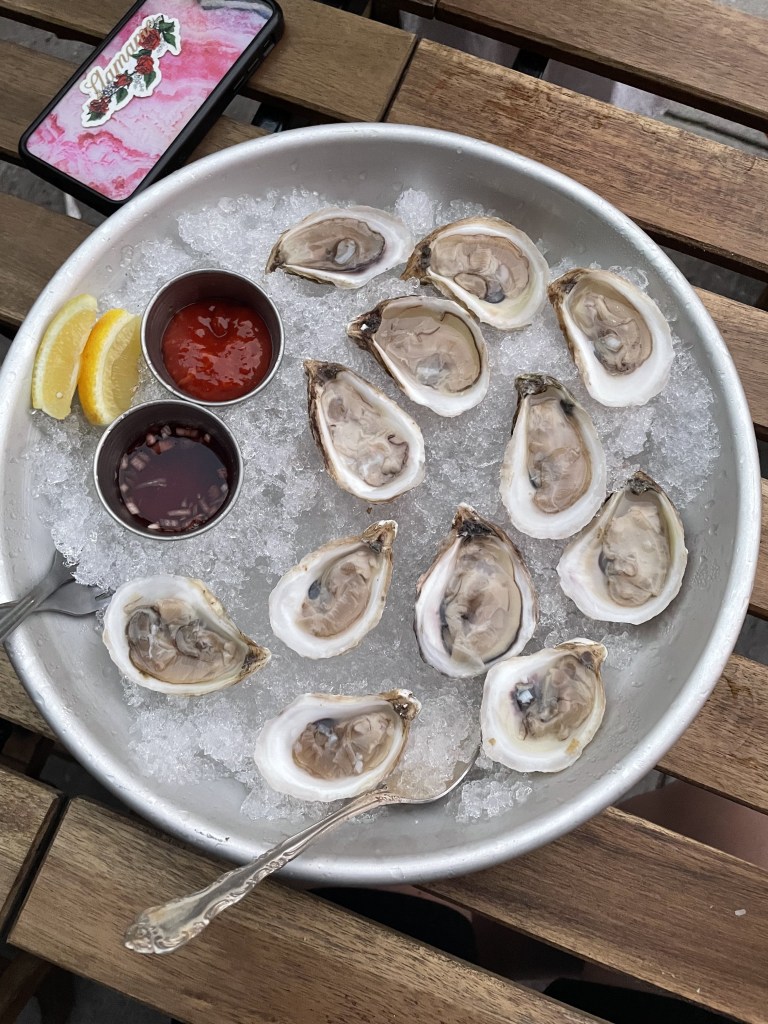
peaches with basil and straciatella croquettas at El Champi in Old San Juangibson and onion rings at Fanelli shishitos and blistered red peppersoysters at Bad Luck Bar in Bed Stuymiso dijon pigs in a blanket
On Thursday, March 13th I came to Vermont with friends with the plan of staying for a weekend and returning on Sunday. Over the course of those 72 hours, things seemed to go wild in New York.
As a result, we decided to stay a few days longer. A few days turned into a week, and a week turned into a few weeks, and as of this coming Thursday, a few weeks will have turned into a month. I’m lucky to be safe, healthy, and with friends, and even luckier to be with friends who like to eat.
My therapist isn’t licensed to practice in Vermont and so I’ve been channeling my stress into increasingly-frequent bouts of moodiness, long walks, and cooking dinner every night.
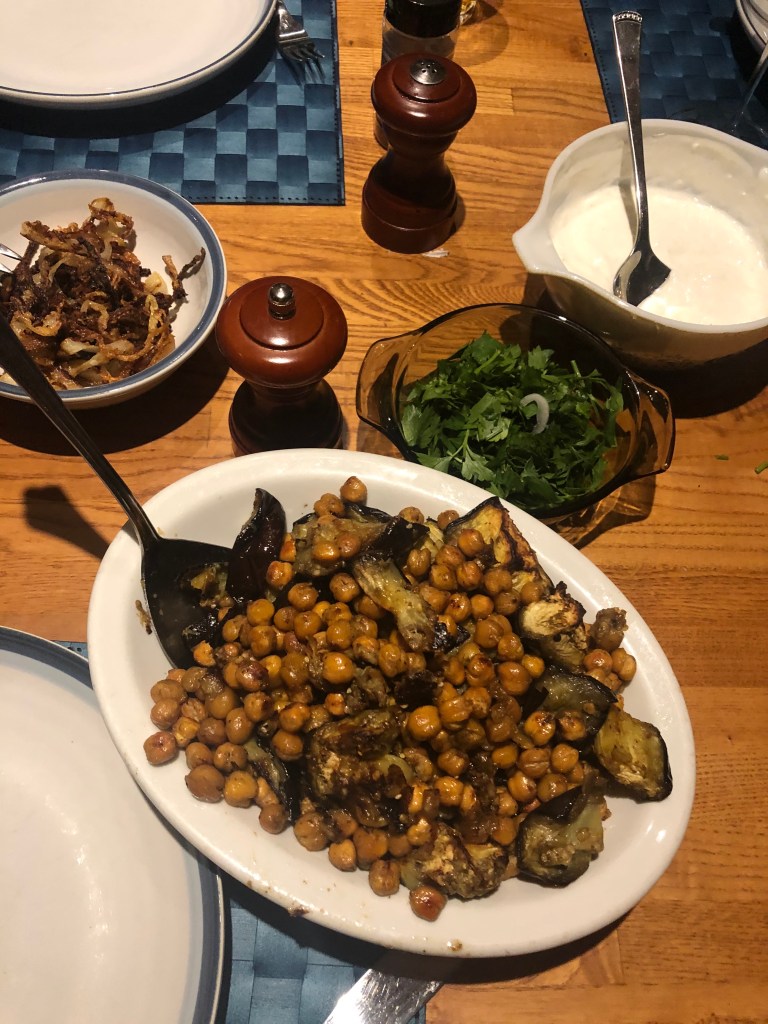
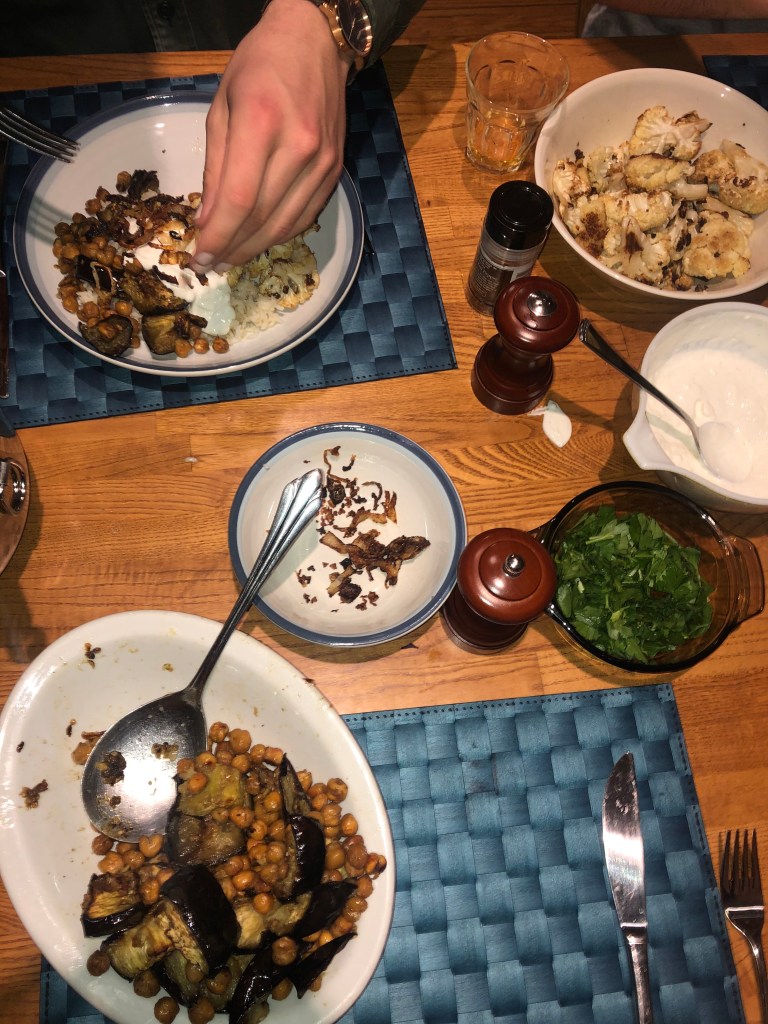
The lighting at the dining-room table is sub prime, but it’s good enough to capture the deeply roasted melt in your mouth eggplant, and the crisp chickpeas we had last week. The yogurt is thinned with water, a drizzle of olive oil, and grated garlic. Crispy onions are the easiest way to turn anything into a culinarily masterpiece. If every recipe were rated with ability to warm your heart and take you elsewhere, this would score in the top tier every time.
Zaatar Chickpeas and Eggplant with Garlic Yogurt and Crispy Fried Onions
Ingredients:
For chickpeas and eggplant:
1 large eggplant
2 cans of chickpeas
Olive oil
2 tbsp zaatar
Kosher salt
For yogurt sauce:
1 cup greek yogurt
¼ cup room temp water
Olive oil
2 cloves of garlic, grated
1 tbsp cumin
Kosher salt
For crispy onions:
1 medium yellow onion
1 tbsp flour
Olive oil
Kosher salt
Preheat the oven to 400 degrees. Lightly oil a baking sheet. Cube the eggplant (think 1 ½ to 2 inch chunks), salt generously, and dump onto one half of the baking sheet. Drain and rinse the chickpeas. Toss chickpeas in a tablespoon of olive oil and zaatar. Spread the chickpeas on the other half of the baking sheet. They should be in a single layer; if they seem too crowded, or your baking sheet is on the smaller side, use a second baking sheet. If the chickpeas are on top of each other they’ll steam rather than crisp. Salt the chickpeas, and bake for 40-50 minutes until eggplant is tender and chickpeas are roasted and crisp, turning half way through.
While the chickpeas and eggplant roast, whisk all of the yogurt sauce ingredients together until smooth and blended. Salt to taste, and add more cumin if you want it spicier. Set aside.
20 minutes before the chickpeas and eggplant are done, thinly slice the onions. Coat in the flour. Line a plate with a paper towel. Heat oil so it is about half an inch deep in a deep pot or frying pan. A dutch oven would be ideal, but I just used a skillet. Whatever you use, don’t crowd the onions. For a smaller skillet like I used, work in two batches. Once the oil is quite hot, fry the onions, turning only once, until they’re crispy and brown. Using tongs, move the onions from the pan to the paper towels, and salt generously. Don’t turn the onions or stir them; spread them out to prevent them from steaming and getting soggy.
Mix the chickpeas and eggplant together, and serve with a generous spoonful of yogurt sauce and handful of fried onions. We had this over rice with roasted cauliflower and a lemony, herby salad on the side.
I like faro because it has a lot of protein and a nutty flavor. If you cook it al dente, it has almost the same chewy texture as pasta. You could sub in another grain, but just aim for a yield of four cups of cooked grain. If you want a greener salad, add more kale (like I did, as seen below).
Faro Salad (Serves 4-6)
Ingredients:
2 cups dry faro
1 bunch kale
3 cloves garlic
1 shallot
1 small fennel bulb and fronds
¼ cup sliced almonds
Olive oil
1 tsp oregano
1 tsp crushed red pepper
1 pint cherry tomatoes
Sherry vinegar
Honey
Salt
Put the faro in a medium pot and add water. Salt the water heavily. Bring to a boil, and simmer uncovered until the faro is done (about 20 minutes for mine). Drain when done.
While the faro cooks, mince the garlic and set aside. Temove the kale from the stems and roughly chop into smaller-than-bite-size pieces. (Did I need all those hyphens? The world may never know, but my mom will certainly tell me.) Thinly slice the shallot and fennel bulb. Take the fronds off one fennel stalk (I’m making up terms here I think, but you get the idea) and roughly chop. Add the fennel (fronds and bulb), shallot, and kale to a large salad or mixing bowl.
Toast the almonds in 3-4 tbsp olive oil over medium high heat in a small skillet. When everything is sizzling, add in the oregano and crushed red pepper. Once the almonds are nice and toasty remove from the heat.
When the faro has finished cooking, and after you’ve drained it, return it to the pan and toss it with the minced garlic. Allow this to cool for five minutes, then dump the faro in with the kale mix and toss. Drizzle with the almond herb olive oil. Sprinkle about 3 tbsp of sherry vinegar and squeeze about 2 tbsp of honey over the salad. Mix well, and adjust the vinegar, honey, and salt levels to taste. Set this aside to cool and for the flavors to absorb for 45 minutes or so.
Once you and your salad have chilled out a bit, halve the tomatoes and mix them in as well. Serve immediately.
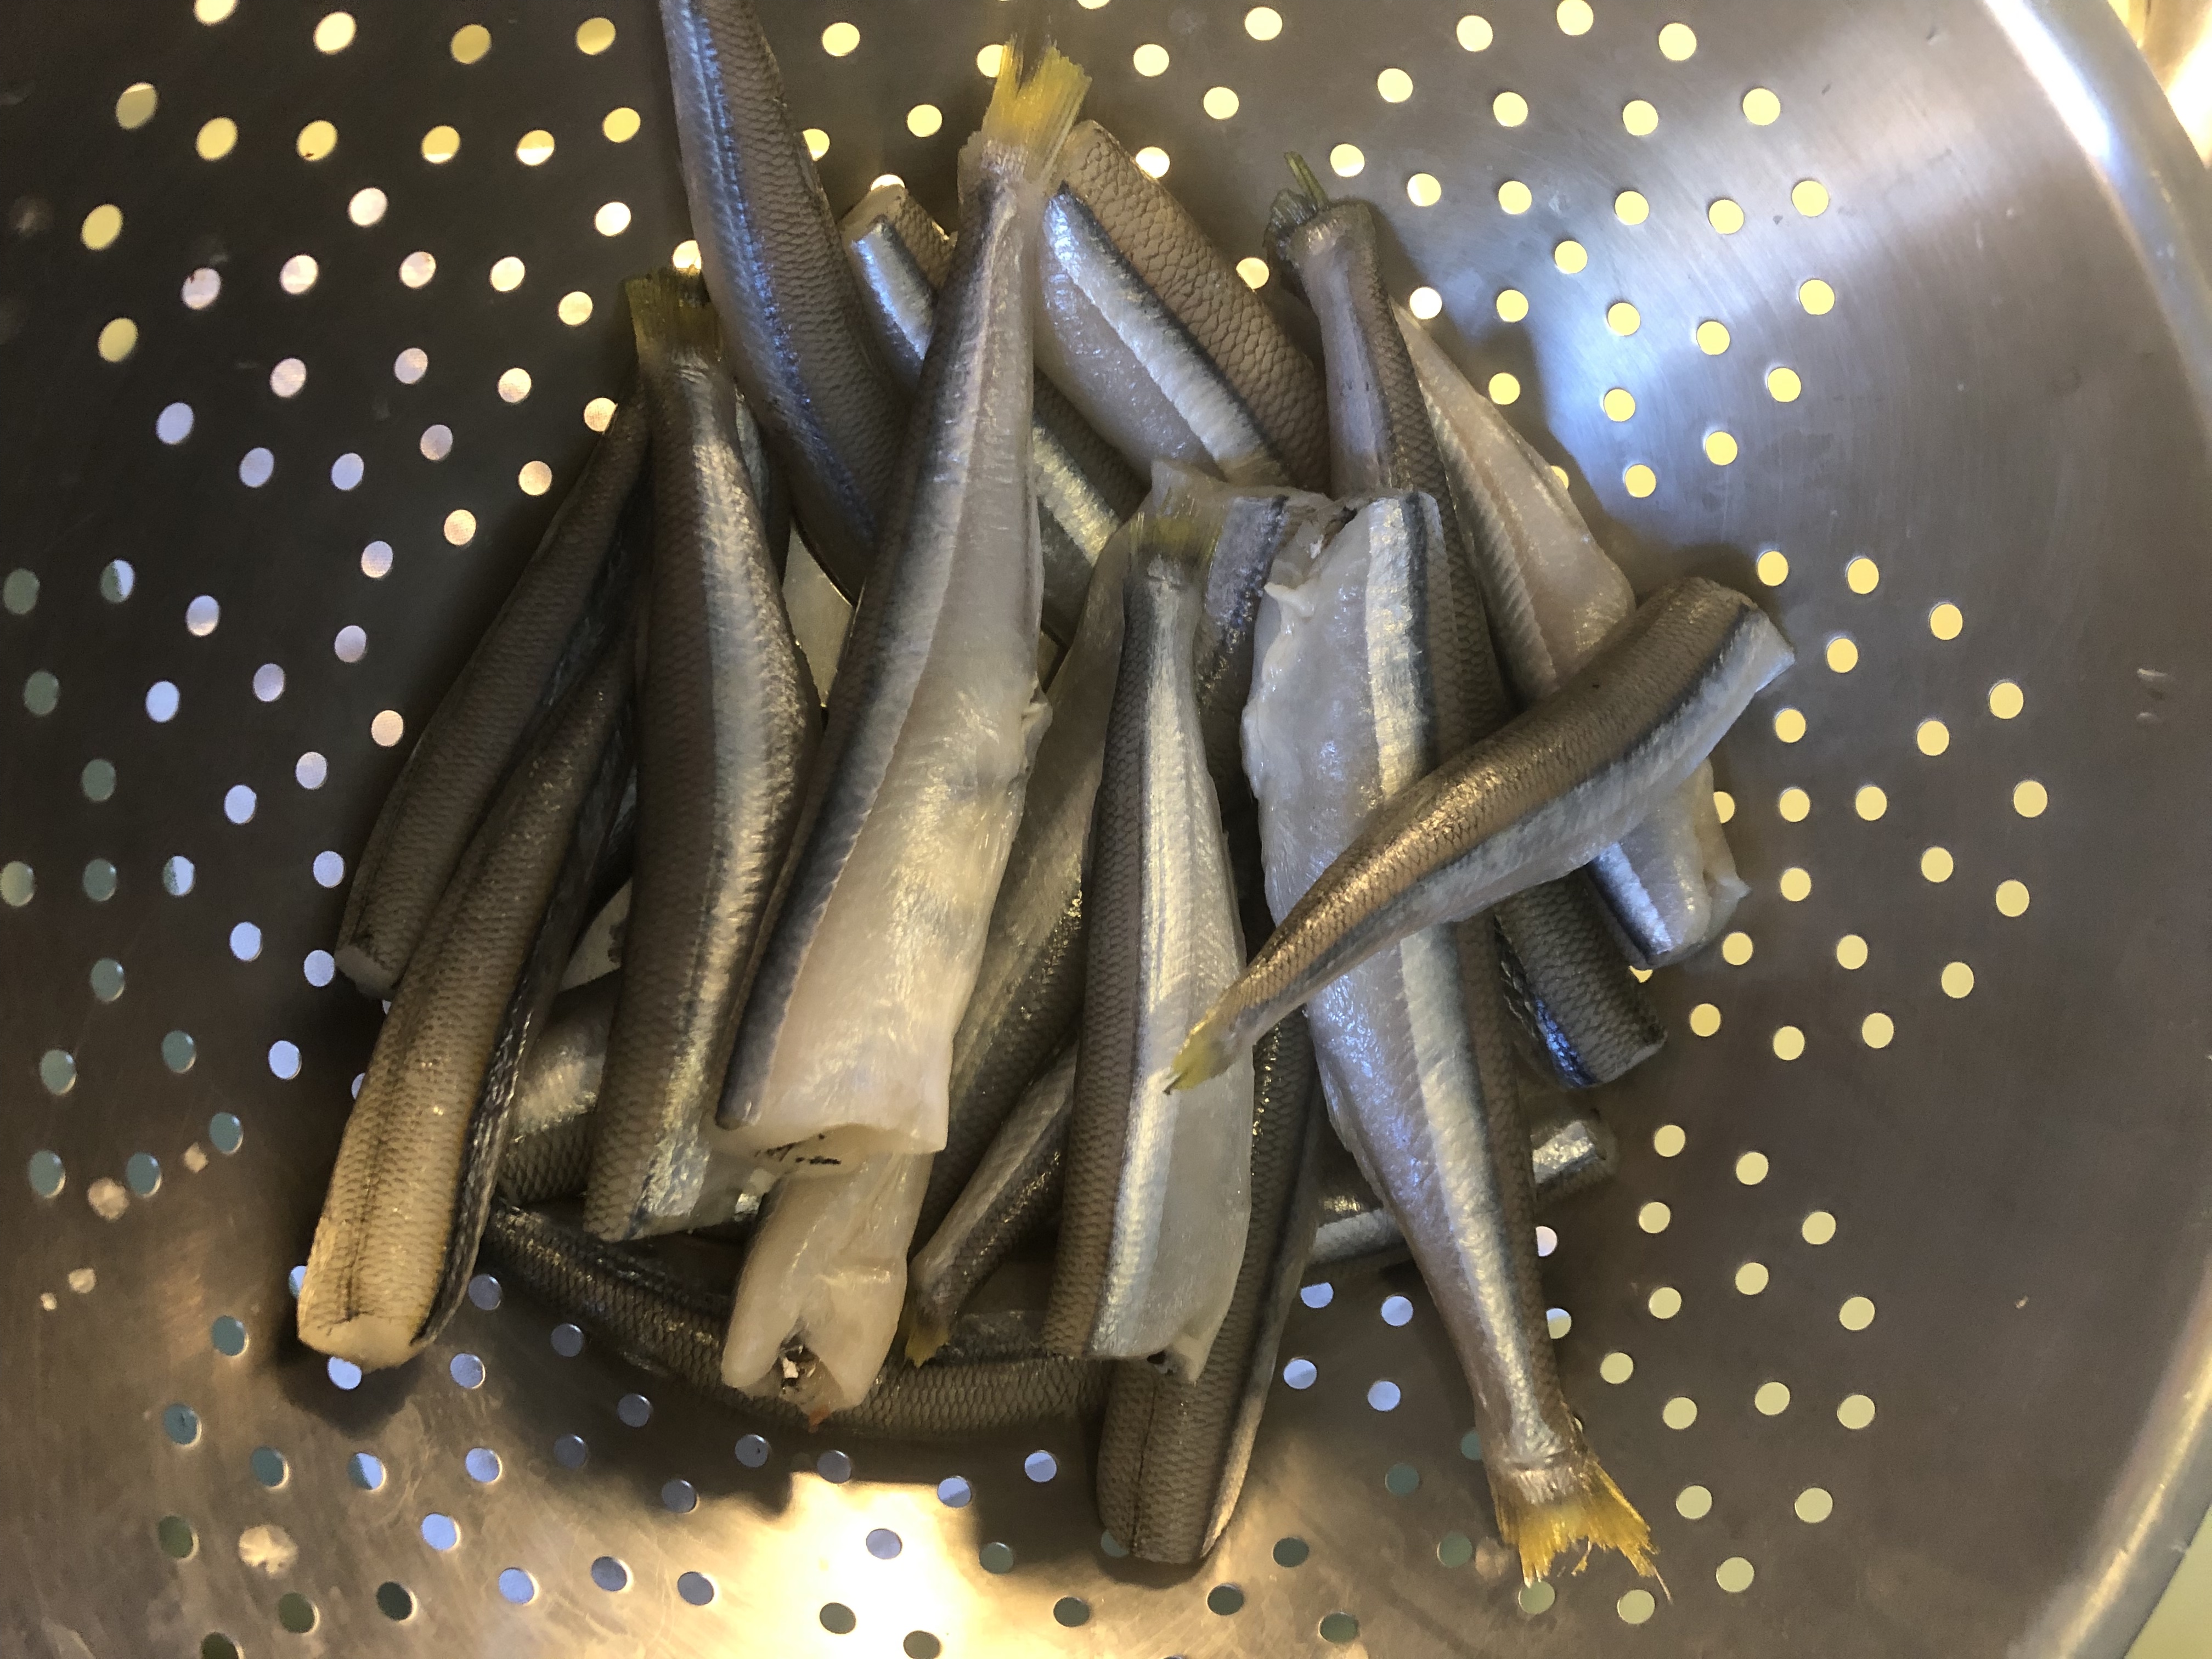
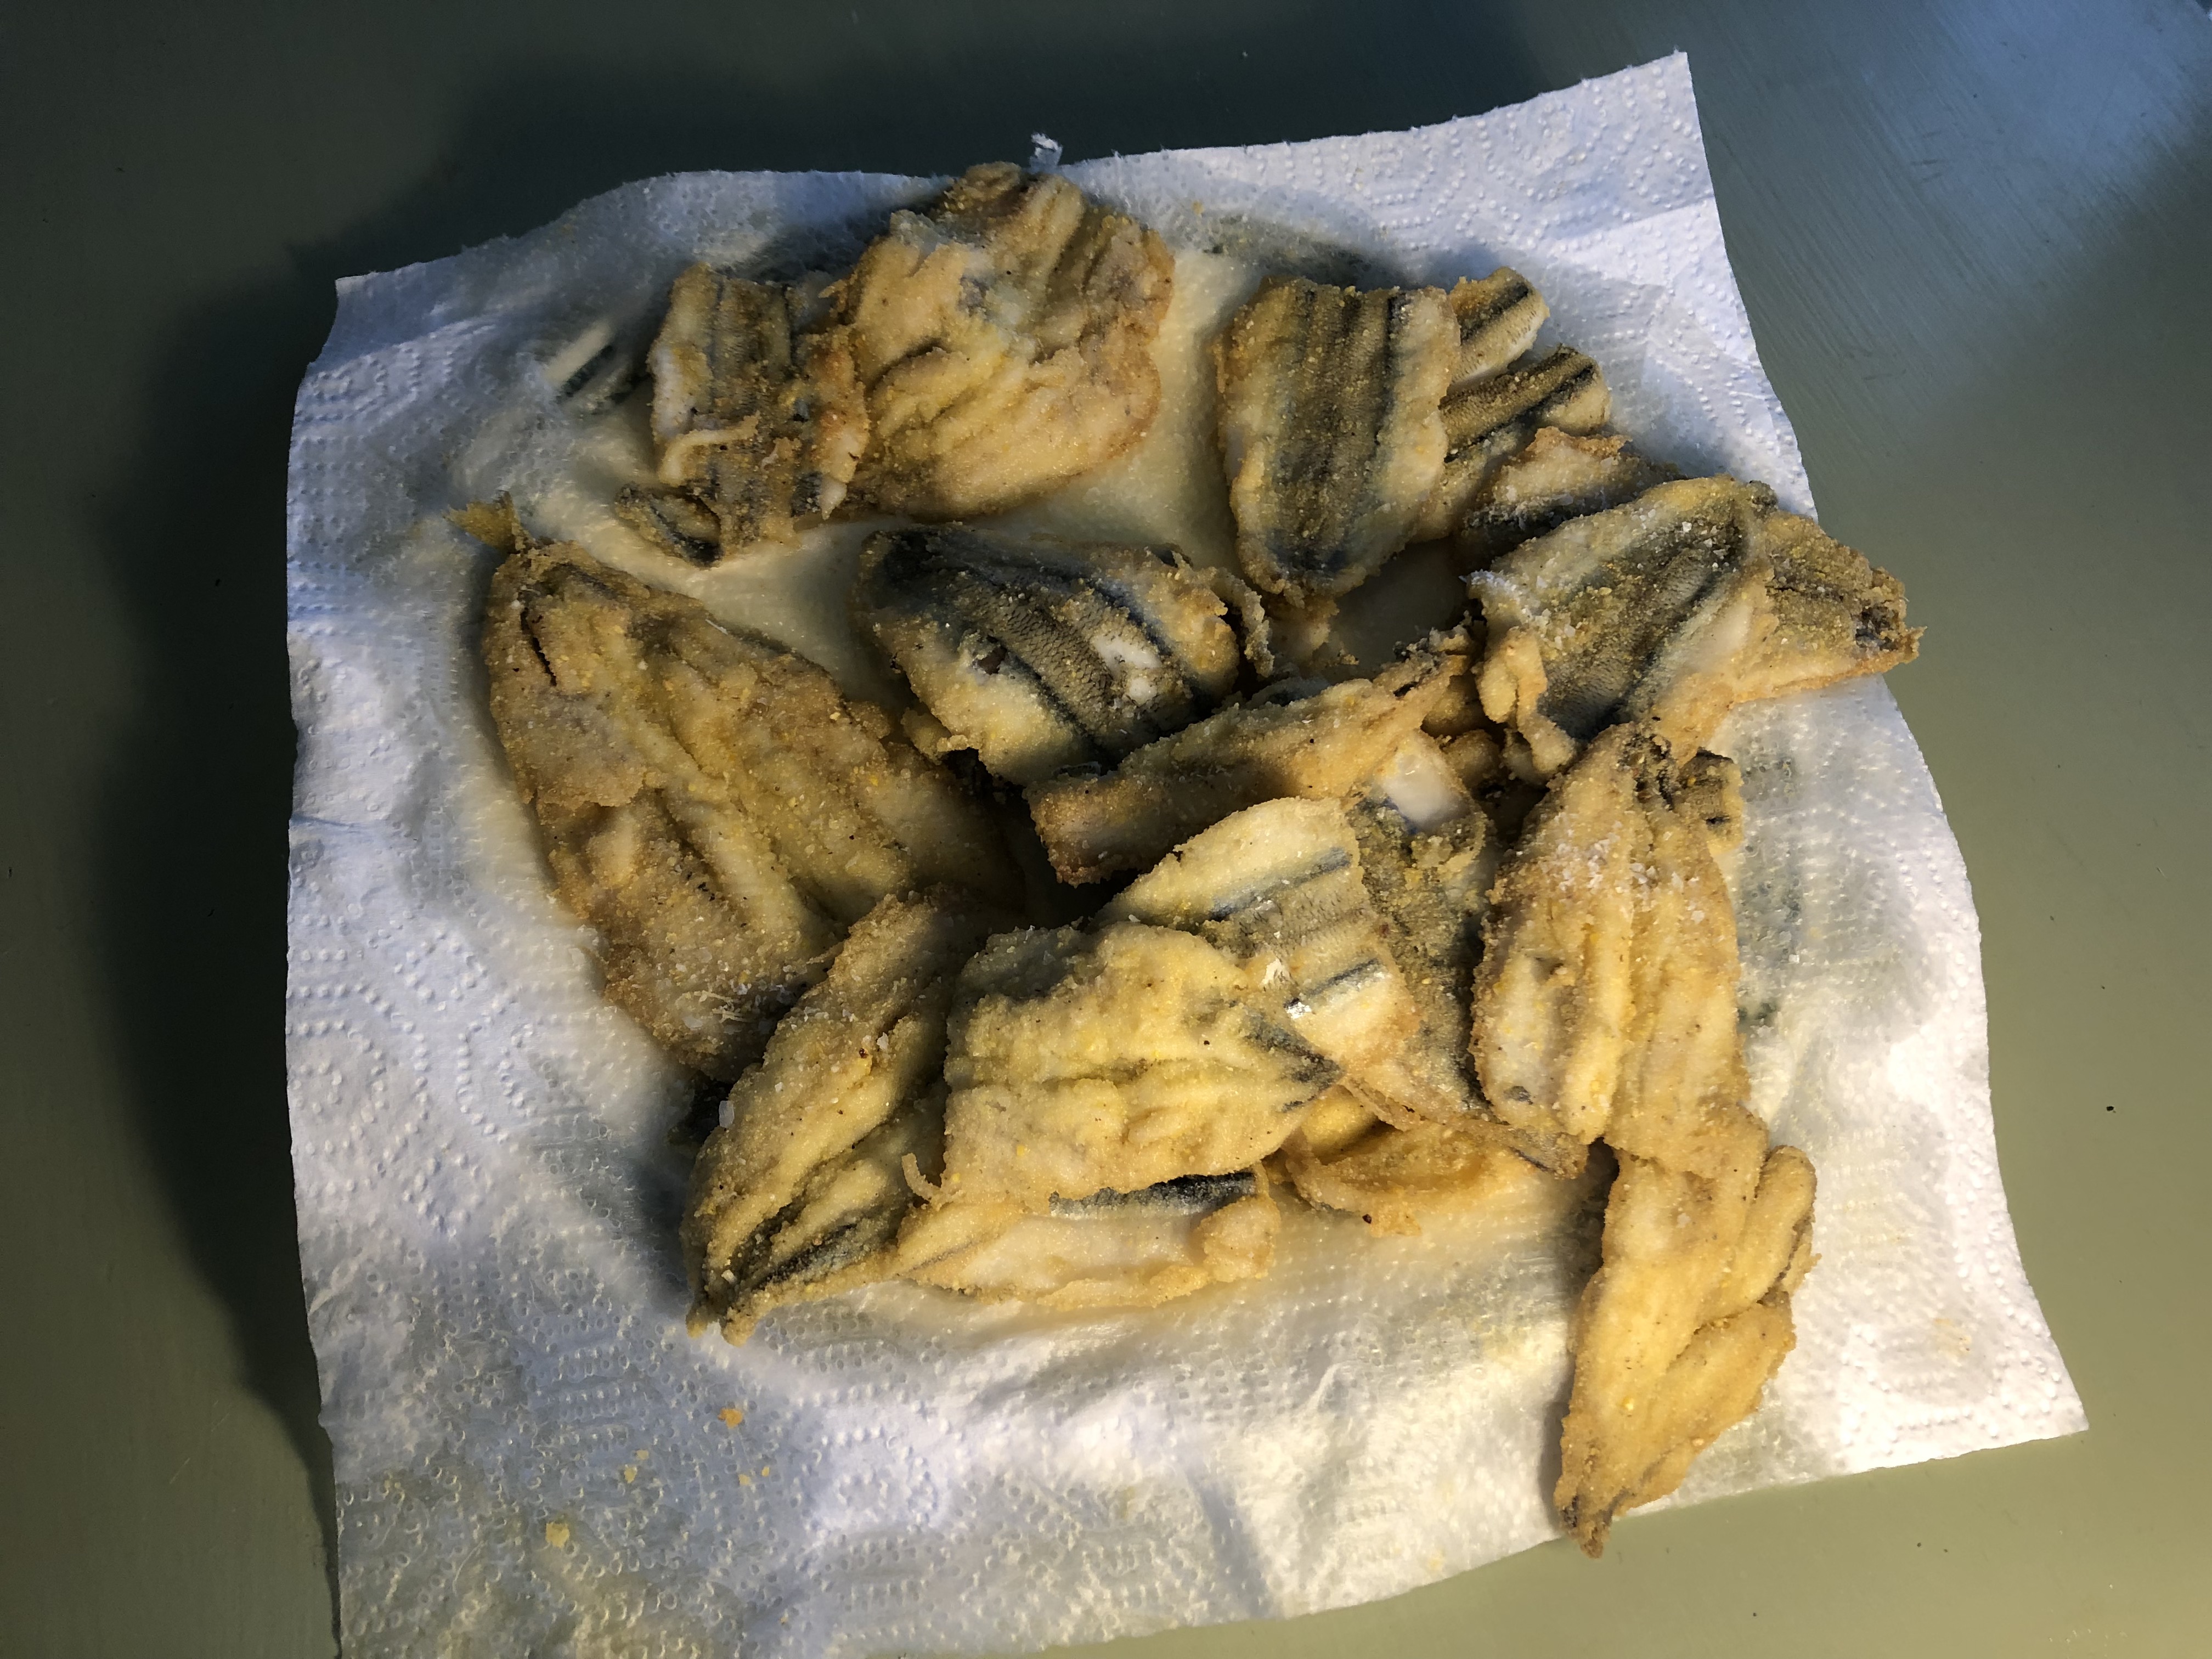
I don’t know for sure what these are—I get them in a bright blue plastic bag from the frozen fish section of the Chinatown Supermarket of Manhattan on East Broadway. But they remind of the fried hamsi (black sea anchovy, European anchovy, the translations go on and on) I ate in Turkey as an au pair, and the smelts my mom would occasionally buy at Kroger.
And as it turns out, they are my party trick of the summer. I make them for my friends, for my family, for myself. I eat the leftovers cold for breakfast. My friends say, “Hm, maybe I’ll have one,” skeptically. They’re being polite. And then they eat one and want more. And they say things like “Oh, these actually ARE good.” And I gloat.
Fried Little Fishes
I serve these as an appetizer because they’re so good on their own with a squeeze of lemon. But they would be great as a meal served with a simple lemony crunchy salad, and bread to soak up the extra salty lemony corn flour crumbs on your plate.
Fried Little Fishes
Ingredients:
Sunflower Seed Oil
Little fish (1-2lbs)
1-2 cups of corn flour (more or less depending on how many fish)
Salt
Lemon
Debone and gut your little fishes, laying them flat. The fish I buy are cleaned, but they still have the bone. I run the knife from the tail down the fish, and then pull out the backbone. Scrape out any guts or eggs or whatever else you do not want to eat.
Line a plate with paper towels.
Pour the oil in a frying pan till it’s about half an inch deep; heat over medium high heat. Pour about a cup of corn flour into a shallow dish. One at a time, coat both sides of the little fish in corn flour. Once the oil is hot, place the fish in the pan, not crowding them. Fry for 2 minutes on the first side; flip. Continue to cook until crispy, about another minute and a half.
Take the fish out and put them on the paper towel lined plate. Sprinkle with salt. Continue frying the rest of the fish in batches until they’re all cooked, sprinkling with salt when they come out of the pan.
Serve hot, with lemon wedges, with fried potatoes or in sandwiches with shredded romaine.
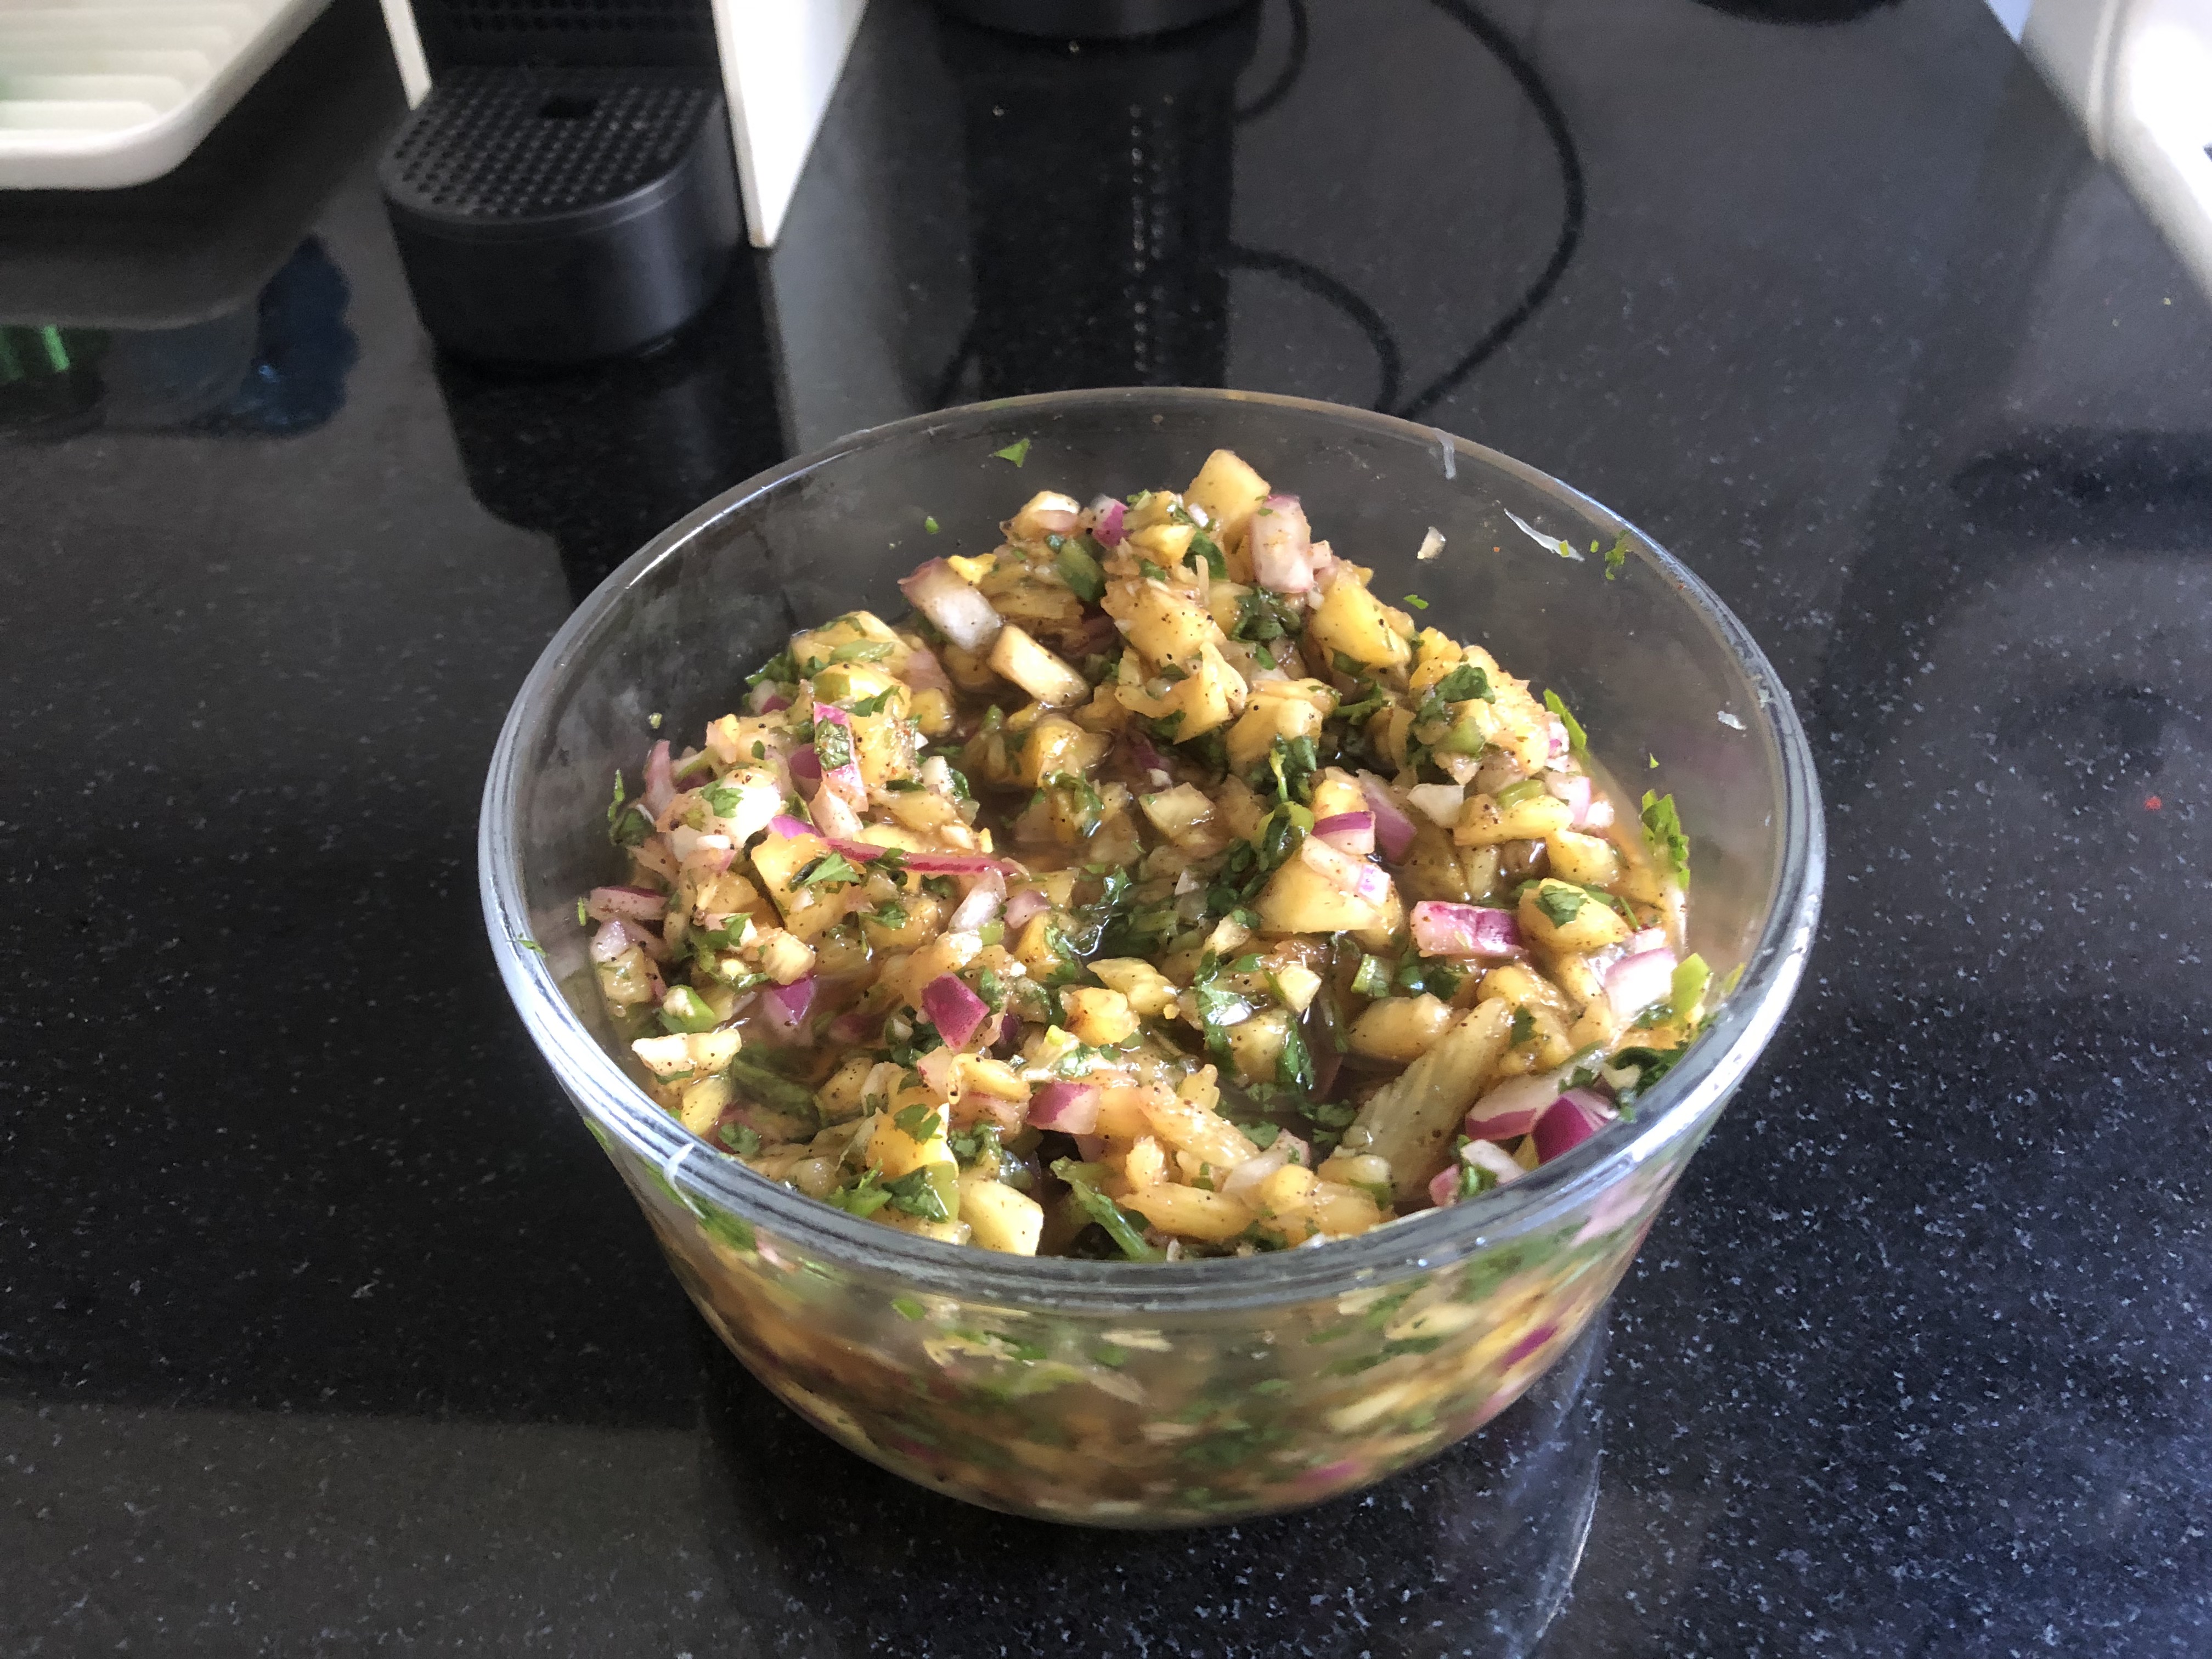
My favorite fruit, by far, is pineapple. I buy pineapples at the grocery store by my house, chop them up, and eat them like candy. Plain, grilled, in drinks, in cakes, in salads, you name it. I’m surprised I haven’t tried to make pineapple soup. I made this salsa a couple of months ago to take to a friends house to go with nachos. We ate it on her roof and I stand by that it is the most delicious refreshing thing in the world at the end of a hot disgusting New York City day. I can eat it with a spoon. I have eaten this with a spoon. I will continue to. I am actually eating it with a spoon right now. I’m realizing I basically treat this like pineapple soup. If you’re not into spoons, Tortilla chips also work.
Pineapple Salsa. Makes 3-4 cups.
Ingredients:
One small pineapple
Half a bunch of cilantro, chopped small with stems
1 fresh green chili or other hot pepper, diced small; I used an Anaheim chili but jalapenos also work if you want to raise the heat level
1 small red onion, diced small
4 cloves of garlic, minced
1 tbsp chili powder
1/4 tsp ancho chili powder
3 tbsp lime juice (I had a juicy lime and one was enough)
1/2 tsp salt plus more to taste
Chop your pineapple finely, till the pieces are about the size of beans. Measure out a heaping two cups, with juices, and add to a medium mixing bowl. (You might have extra pineapple; set this aside for whatever.)
Add the cilantro, green chili pepper, onion, garlic, chili powder, ancho chili powder, salt, and lime to the chopped pineapple. Mix thoroughly. Add more salt to taste. Refrigerate for at least 2 hours so the flavors have some time to mix and mingle. Before this they’ll be a little shy and not their regular pineapple salsa selves.
Serve with chips, on tacos, with nachos, or just eat it from the bowl with a spoon like me.
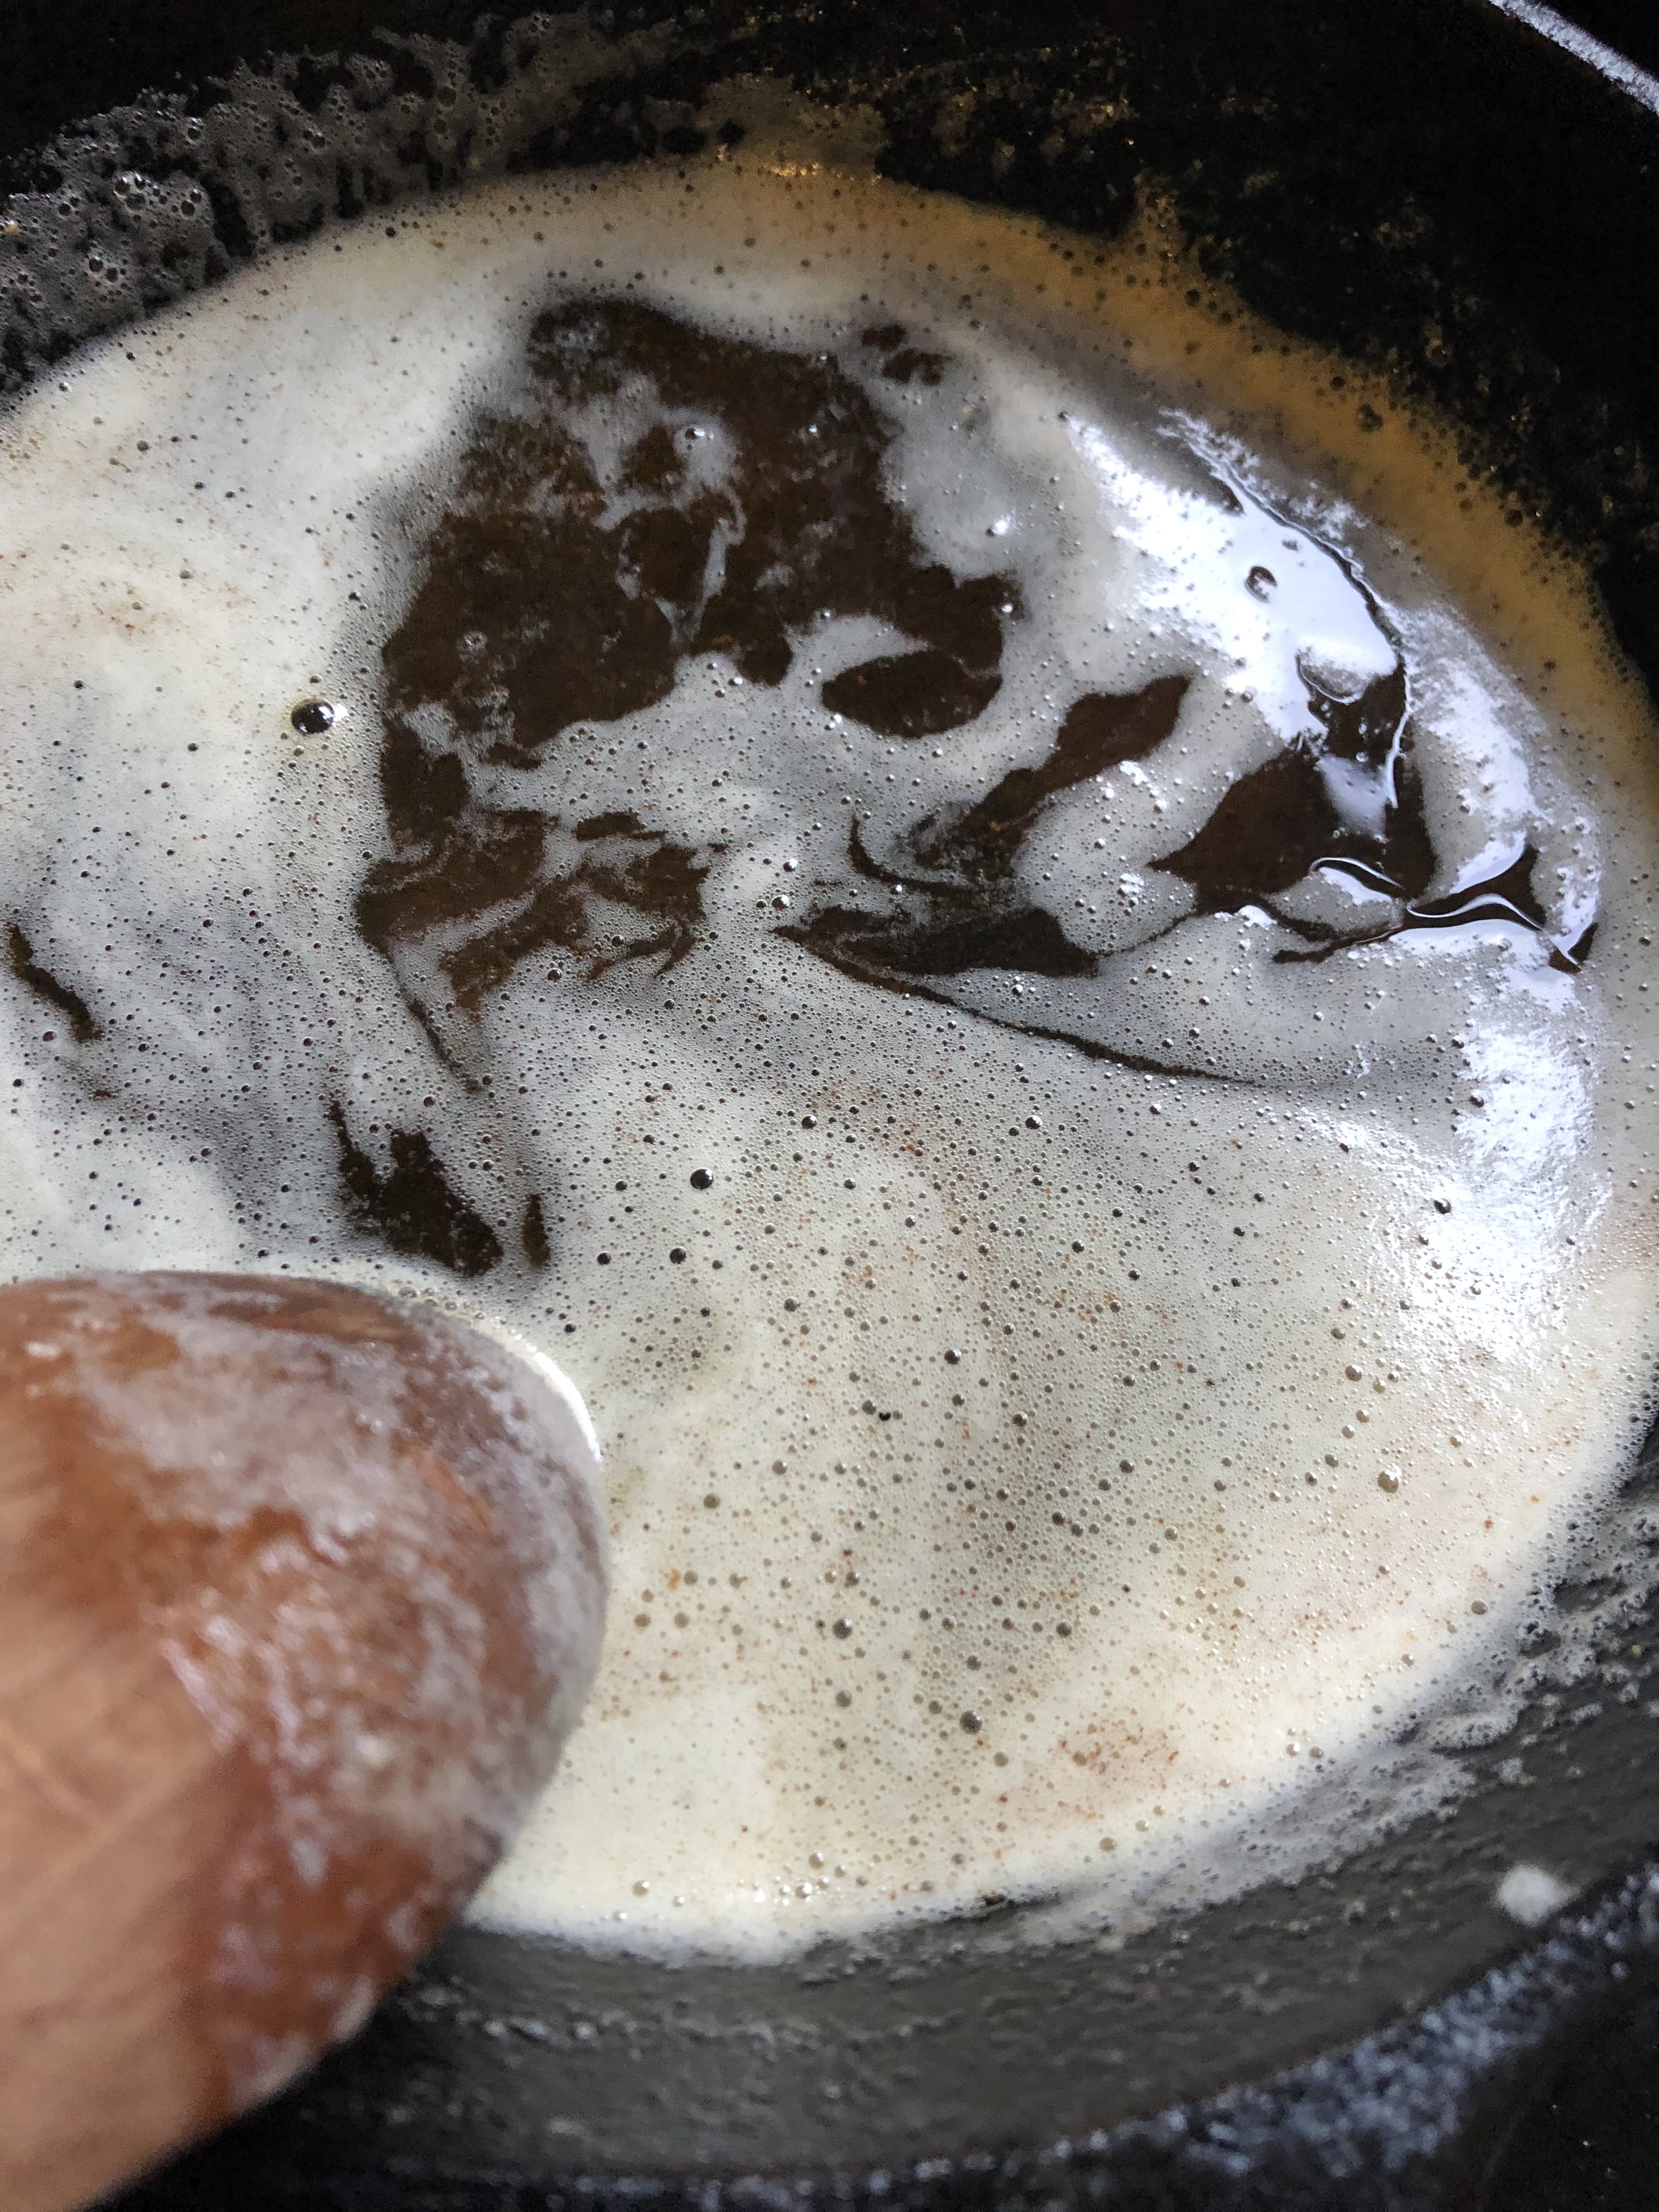
If this were Italy, we would probably finish our pesto pasta with a drizzle of olive oil and an extra grate of cheese. But this is not Italy—it is the internet of all places, in 2019 (2018 part 2), and so there is only one way to finish a pasta dish. Three tablespoons of brown butter.
I know I know. Green pasta? With butter???????? Are you kidding me Emma???
No I am not. There are very few things that I actually know about cooking. One is that butter is usually a good addition to a pasta sauce. (Think Marcella Hazan’s three ingredient tomato sauce).
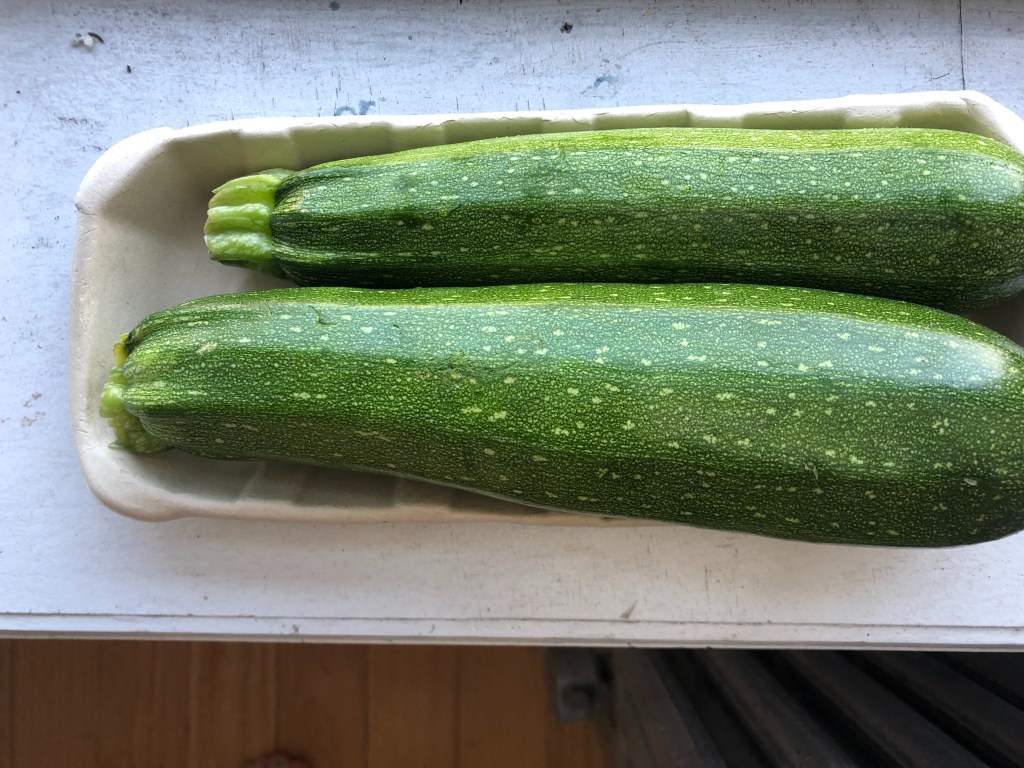
Another thing is that salt is basically as magical as fairy dust, if not more. This magic is extra evident when it comes to sucking the liquid out of vegetables. Which is how you can avoid a watery zucchini situation with this recipe by salting the zucchini and then wringing it out.
I used to add only a pinch to my pasta water, until my friend Caroline was making pasta once and told me that the pasta water should have the same salinity as the sea.
I don’t know if that’s true but it sounded right.
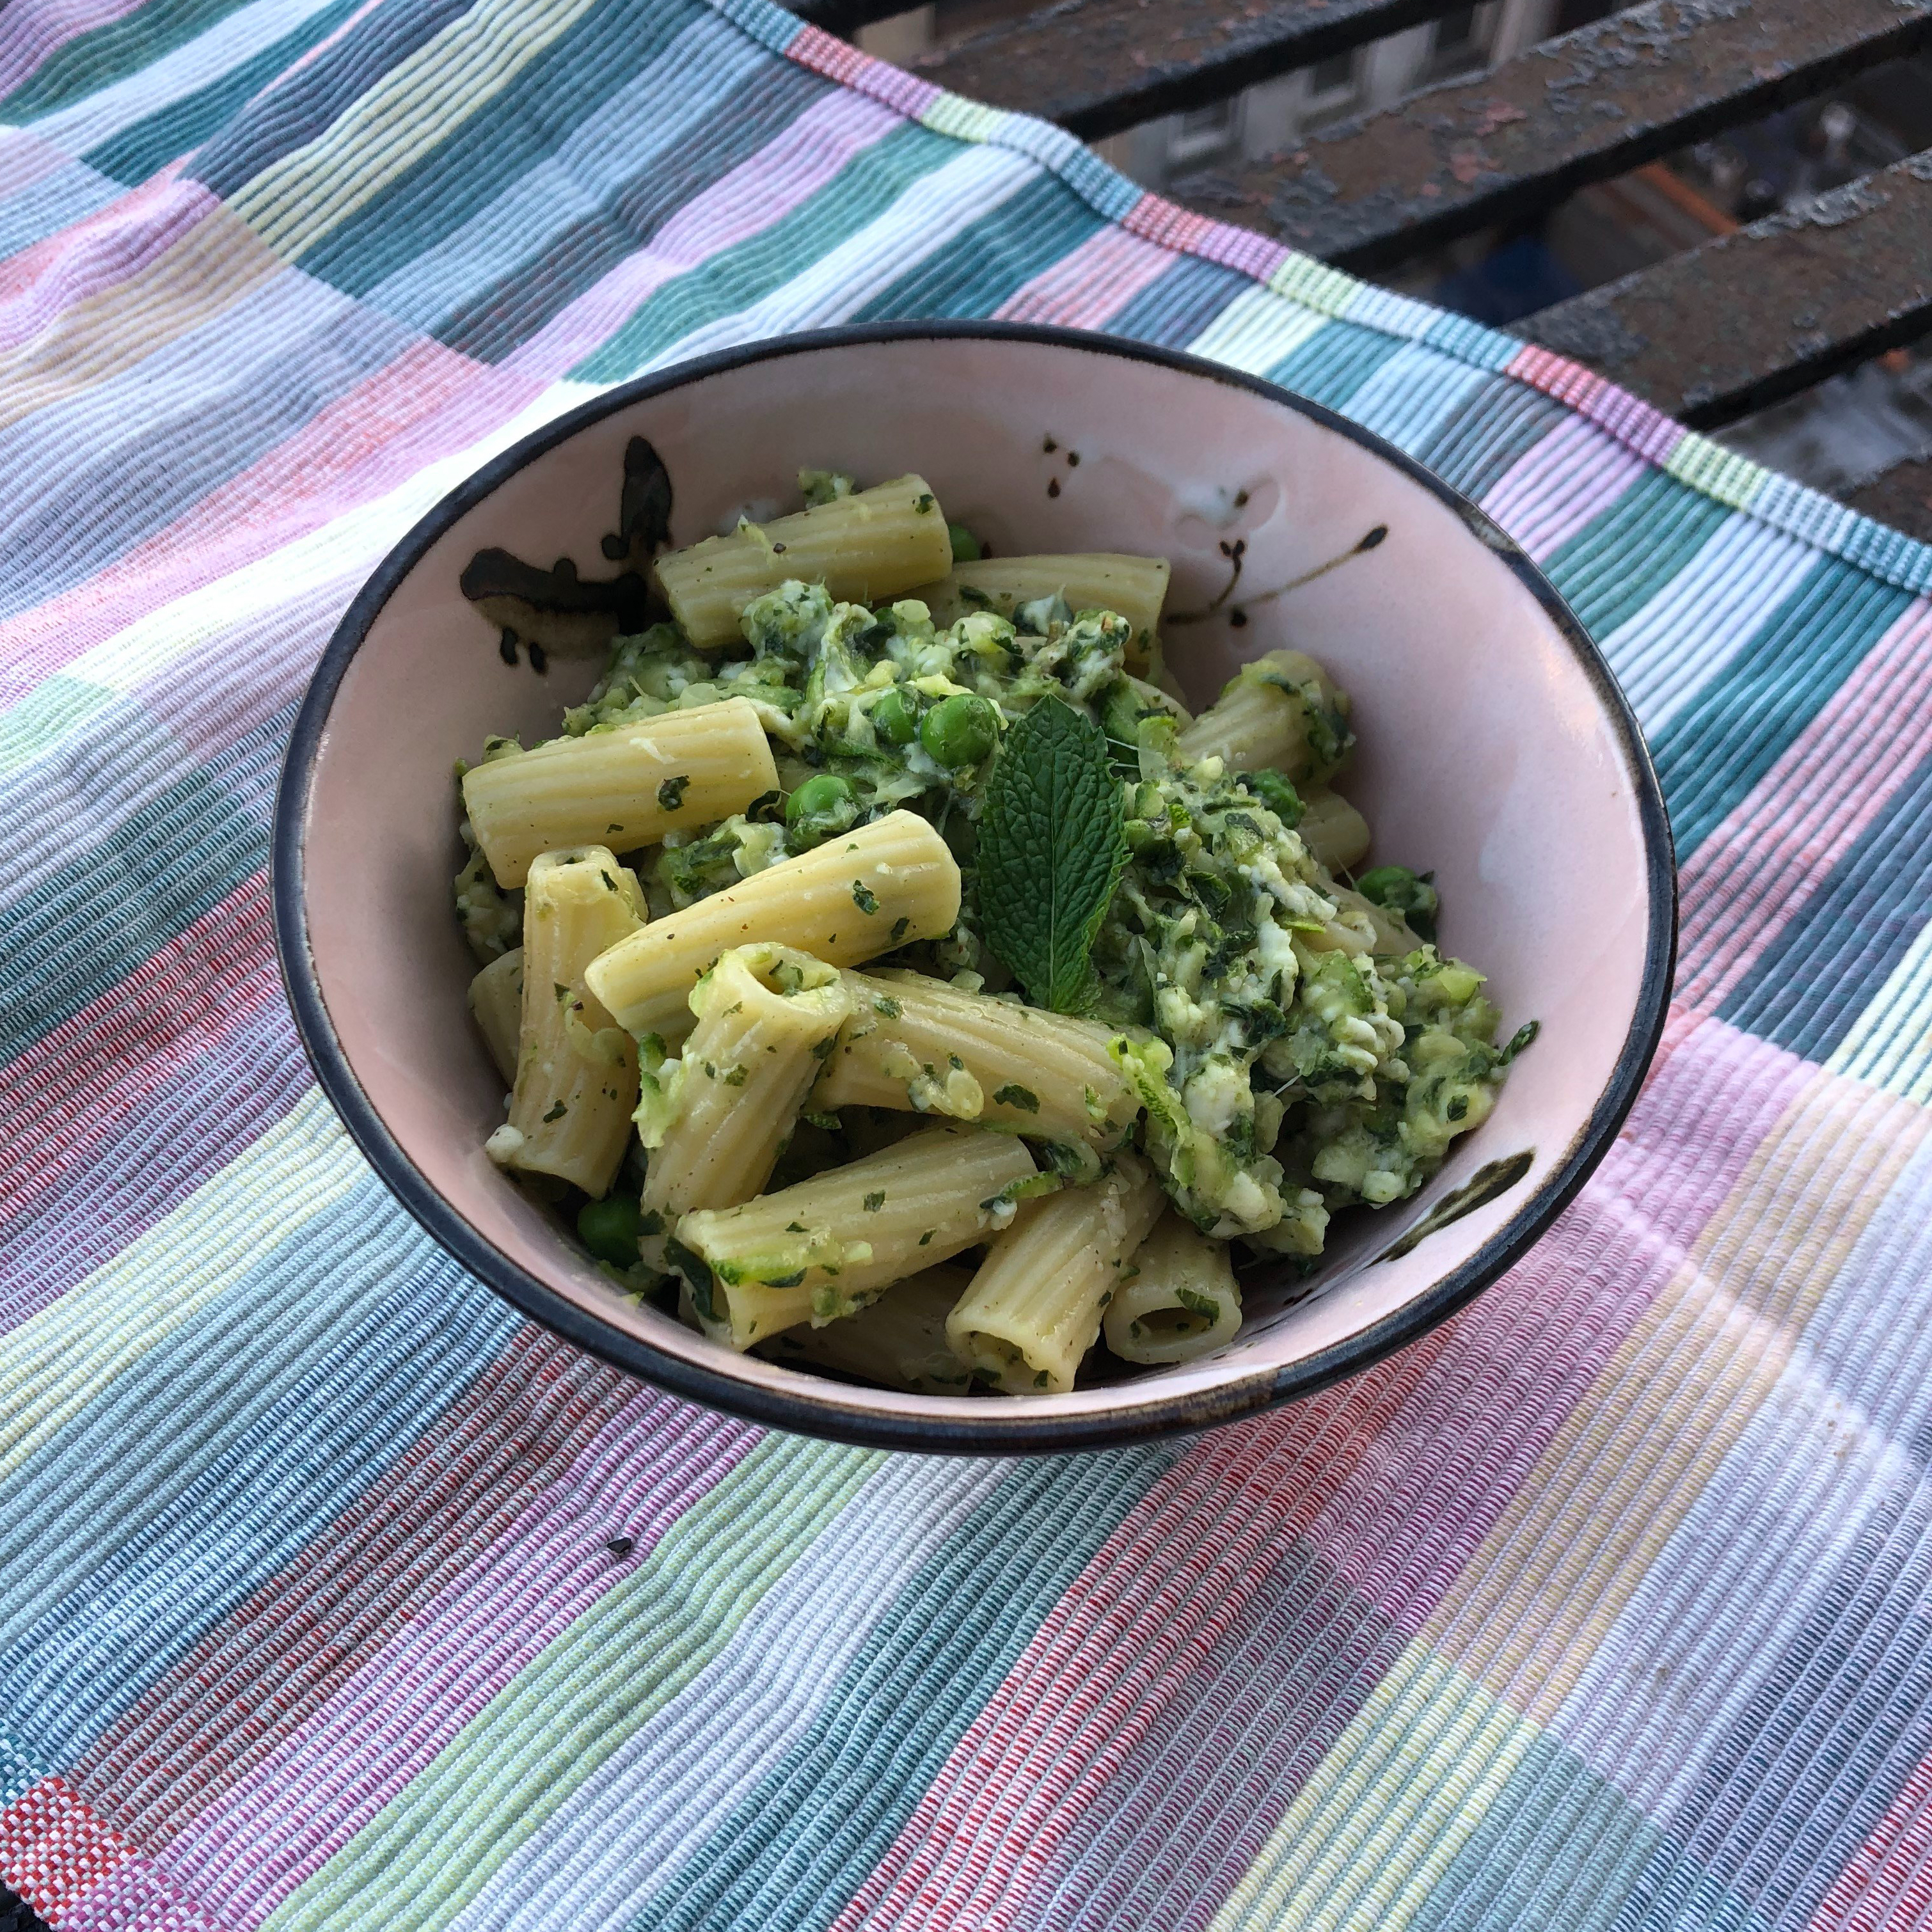
This pasta is everything I love about a pesto pasta, plus cheese, plus mint, plus refreshing peas and zucchini. You forget the zucchini is there, until it says ohhhh helloooooo there cutie pie and reminds you. The mozzarella melts just enough but not too much. You can use half the amount of pasta if you want the vegetables to be heavier, or the full amount if you want them to really just serve as an accompaniment. I’ll eat it both ways—any way—any time of day, any day of the week. No nuts in case that’s an issue. You could add them, but I think with the crunch of the zucchini, you don’t need it. Eat hot or cold.
Green Pasta with Brown Butter, Zucchini, and Peas. Serves 4 (at least).
16 oz pasta, depending on what kind of ratio you are going for. I use rigatoni. Cheese tortellini is good too.
1 large zucchini
8 oz mozzarella shredded
1 cup frozen peas
3 tbsp butter
For the pesto:
1 cup of packed basil
3-4 sprigs of fresh mint
4 garlic cloves
Juice and zest of one small lemon
1 tbsp cold water
¼ cup olive oil
¼ cup parmesean
Pinch of salt
Black pepper
Grate your zucchini on the large holed side of a box grater, into a bowl with a thin dish towel or cheese cloth draped over it. Sprinkle salt over the zucchini, and let sit while you make the pesto and bring the pasta water to a boil.
Boil a pot of water. Add a lot of salt. Same salinity as the sea. Which sea? Take your pick.
While the zucchini rests, make your pesto. I do this by blending the herbs, garlic, salt, pepper, lemon juice and zest, and a tablespoon of cold water in a glass measuring cup with my immersion blender. Slowly pour in the olive oil until it comes together. Finish with mixing in the cheese. You can use whatever blending mechanism you have.
When your water is boiling, add your pasta, generously salting the water, and set a timer; when five minutes is left, add your peas.
While the pasta cooks, squeeze as much water out of the zucchini as you can. I do this by gathering the cloth together, with the zucchini in a ball at one end, and wringing out the liquid. Put in a medium bowl, and mix with the shredded mozzarella.
Brown the butter in a small skillet, and set aside.
When the pasta and peas are cooked to al dente, drain them, reserving 1 cup of water. Pour half of the brown butter into the pot, and return the pasta and peas, adding the pesto, along with the zucchini mozzarella blend, in two parts. Stir. If it seems too dry, add the cooking water you set aside, a tablespoon at a time. Finish with the rest of the brown butter.
Serve immediately, with whatever spare leaf you may have on hand, a grind of black pepper, and extra pecorino for garnish.
I can post highly saturated flash on iPhone pictures to Instagram all I want, but I think it’s time I give you (the people, my friends) what you want. Recipes! Adaptations! (Both film and the garlicky kind). Exclamation points at the end of sentences complete with verbs instead of emojis! This is it! Coming soon will be the short ribs I pressure cooked for dinner Wednesday night, the subsequent onion soup I plan to make with the leftover onions from the short rib pot, and maybe a vegetable, because my mom slid into my DMs last night to tell me the meal I’d posted looked like it was lacking on that front. Who knew 2019 would bring us more platforms for our parents to tell us to eat our vegetables? Anyways, I “did the thing and” made a website. I don’t know how to change font colors or anything yet, so enjoy this easy to read formatting while you can.